A token swap can look almost too simple. You choose the token you want to sell, choose what you want to receive, enter an amount, and the interface gives you an expected result. But that “pri
A token swap can look almost too simple.
You choose the token you want to sell, choose what you want to receive, enter an amount, and the interface gives you an expected result.
But that “price” you see is not actually one single number.
When you look closely at a swap, there are several different values describing different moments of the trade. Understanding the difference matters because the number you see before confirming is not necessarily the number that ultimately reaches your wallet.
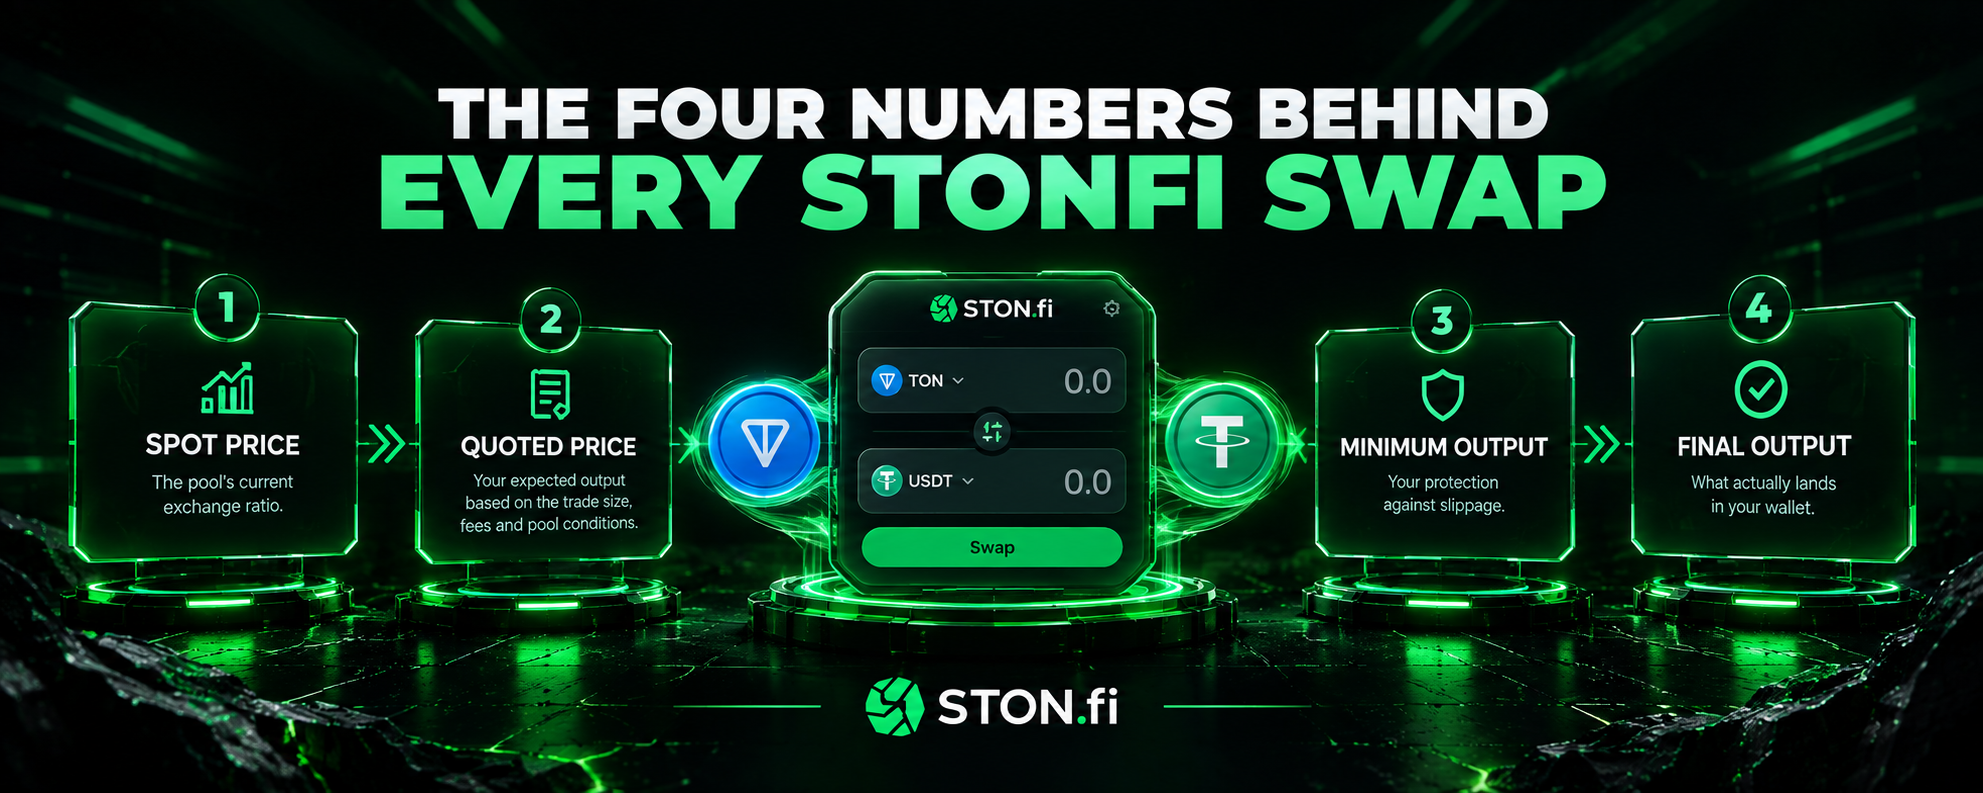
On STONfi, this becomes easier to understand when you separate four ideas:
Spot price. Quoted price. Minimum output. Final output.
They are connected, but they are not interchangeable.
Spot price is the pool's current exchange ratio before considering the specific trade you're about to make.
STONfi operates as an automated market maker, where the pool's reserves determine the relationship between the two assets.
That makes spot price useful as a reference.
But it isn't necessarily the price you will receive.
The moment you submit a swap, your trade interacts with the pool's liquidity. A larger trade can move the pool further than a smaller one, meaning the execution you receive can differ from the raw price you saw before entering the transaction.
So I think of spot price less as:
"This is the price I will get."
And more as:
"This is where the pool is priced before my trade changes anything."
That distinction becomes important very quickly.
The quoted price gets much closer to the question a trader actually cares about:
"If I make this swap now, approximately how much will I receive?"
Unlike a simple spot-price calculation, a swap quote is based on the transaction you're actually preparing. The amount you're swapping and the current pool conditions matter to the expected output.
This is why changing the amount you're swapping can change the displayed result even when the token pair itself hasn't changed.
But there is another important detail:
A quote is still an estimate.
There is a gap between requesting a quote and having the transaction confirmed on-chain. During that time, another swap can affect the pool, market conditions can move, or the transaction can take longer than expected.
The quote was accurate for the conditions used to calculate it.
Those conditions can change before execution.
That is why the quoted output should never be treated as an unconditional promise.

This is where slippage becomes much more than a setting most people ignore.
Your minimum output represents the lowest amount you're willing to accept for the swap.
If execution would produce less than that amount, the transaction should fail rather than completing outside the range you accepted.
That creates an important separation:
The quote tells you what you expect.
The minimum output tells the transaction what you refuse to accept.
Your slippage tolerance is used to establish that acceptable range.
Set the tolerance too tightly and ordinary movement between the quote and execution can cause the swap to fail.
Set it too loosely and you're allowing a much wider difference between the expected result and the minimum result you will accept.
Neither number should be viewed in isolation.
The useful question is whether the tolerance makes sense for the conditions of the swap.

Then the transaction executes.
At that point, there is no longer a quote to interpret.
There is an actual result.
The final output is what the swap ultimately delivers to your wallet after the transaction settles.
This is why the final output is different from the first three numbers. Spot price describes the pool. The quote describes an expected execution. Minimum output defines an acceptable floor.
Final output records the outcome.
Ideally, the final result is close to the quoted amount. But it doesn't have to be identical.
The difference can come from changes in the pool between quoting and execution, the effect of your trade on available liquidity, and other execution conditions.
If the result would fall below your minimum output, the protection mechanism is there to prevent the swap from simply accepting that worse outcome.
Looking at these values separately can make a swap seem unnecessarily complicated.
Together, they actually tell a pretty simple story.
Spot price: Where is the pool priced right now?
Quoted price: Given my trade, what do I currently expect to receive?
Minimum output: What is the lowest result I am willing to accept?
Final output: What did the transaction actually deliver?
Each answers a different question.
The mistake is treating the first number you see as the price and ignoring everything that happens afterward.
A better mental model is:
Spot → Quote → Protection → Execution
That sequence follows the trade from the pool's current state to the result that reaches your wallet.
There is another reason these distinctions matter: the same token pair can behave very differently depending on the amount being swapped and the liquidity available.
Imagine two users swapping the same asset pair.
One makes a small swap relative to the pool's available liquidity.
Another makes a much larger swap.
They are interacting with the same pair, but they shouldn't automatically expect the same execution characteristics.
The larger transaction can have a greater effect on the pool's reserves, which can influence the effective execution price.
This is one reason a token's displayed market price should not automatically be treated as the exact price available for every possible swap size.
The pool has to process the actual transaction.
You don't need to turn every swap into a technical research session.
A few checks can make the numbers much easier to understand.
First, look at the quoted output.
Then check the slippage setting and understand the minimum output it creates.
Before confirming, make sure the expected result still makes sense for the amount you're swapping.
After execution, check the final output rather than assuming the quote was the result.
That last step is easy to skip.
But it closes the loop between expectation and execution.
STONfi's own documentation describes its DEX as a non-custodial AMM with permissionless swaps, while its current documentation also distinguishes between its supported DEX versions.
The important point here isn't memorizing terminology.
It's learning to read what the interface is actually telling you.
A swap isn't really:
"I give X and receive Y."
It's closer to:
"The pool is currently here. Based on my trade, this is the expected result. This is the worst result I've agreed to accept. And this is what ultimately happened."
Once you see the swap that way, the numbers stop looking like four versions of the same thing.
They become four checkpoints in one process.
And that is a much better way to understand what you're actually confirming when you press Swap.
Spot price, quoted price, minimum output, and final output all describe different parts of the same transaction.
The spot price gives you the starting reference.
The quote adapts that reference to your intended trade.
The minimum output establishes your protection boundary.
The final output tells you what actually settled.
Understanding the difference doesn't make swaps complicated.
It makes the interface easier to read.
STONfi Swap App
STONfi Developer Documentation
STONfi DEX Documentation