MetaMask Wallet from Scratch: How to Avoid Common Mistakes in Crypto Crypto isn't the niche hobby it used to be. More people are holding digital assets now, and most of them need a safe place
Crypto isn't the niche hobby it used to be. More people are holding digital assets now, and most of them need a safe place to keep those assets.
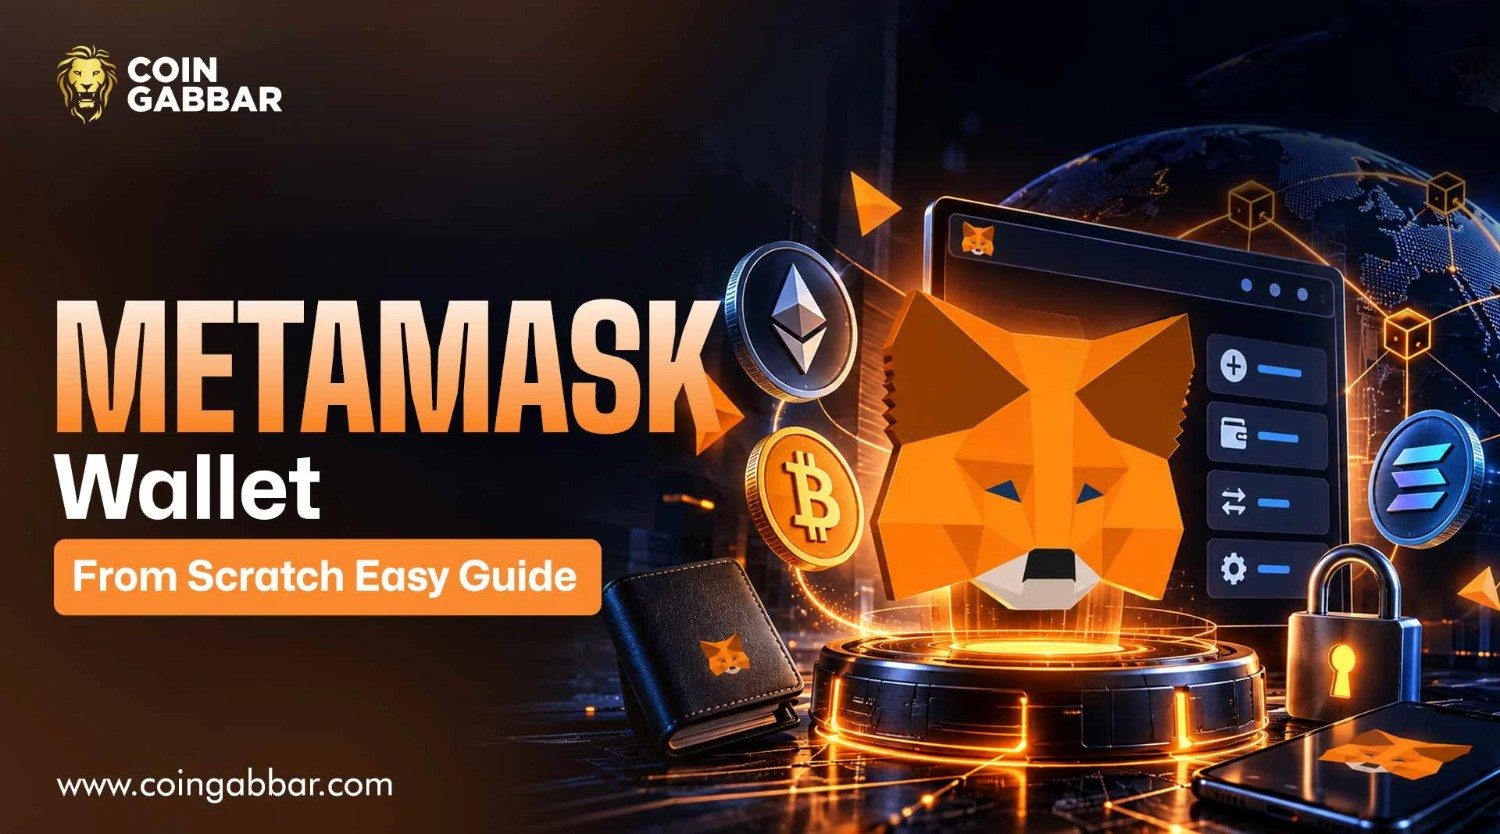
That's where a MetaMask wallet from scratch comes in. It's one of the most trusted self-custody wallets out there, and setting one up doesn't take long once someone knows the steps.
This guide covers what MetaMask actually is, how it works under the hood, and the exact process for building a MetaMask wallet from scratch without second-guessing any step.
MetaMask is a self-custodial wallet, built by a company called Consensys. Self-custodial just means nobody else holds the keys or the money.
The person who sets it up owns a secret recovery phrase, and every single transaction gets signed right there on their own device. Nothing routes through a MetaMask server.
It started out small, as a browser extension for Ethereum. These days it's grown into something bigger, covering Ethereum, Bitcoin, Solana, TRON, and other Ethereum-compatible chains on both browser and mobile. I
It's also picked up extra features along the way: swapping tokens, bridging between networks, staking, a debit card, and direct access to decentralized apps.
Put simply, MetaMask acts as the middle layer between a person and the blockchain. Someone can hold digital assets, approve transactions, and jump into Web3 platforms directly no bank, no company, nobody standing in the middle.
None of this is complicated, honestly. Building a MetaMask wallet from scratch comes down to a handful of quick steps, though one or two, especially anything touching the recovery phrase, are worth slowing down for.
Download it from the real source: MetaMask should only come from its official website or a verified app store listing. Fake versions of the extension show up often, so it's worth double-checking the URL and the publisher name before hitting install.
Install the extension or app: Once it's downloaded, an icon shows up after installation. Clicking it kicks off the setup process.
Choose to create a new wallet: Anyone starting fresh should pick "Create a New Wallet." The "Import Wallet" option is only for people who already have a recovery phrase from somewhere else. For a genuine MetaMask wallet from scratch, creating new is the right path.
Set a strong password: This password only unlocks the wallet on that particular device; it won't help recover the crypto wallet if the device gets lost. Still, it should be strong, unique, and ideally saved in a password manager.
Write down the secret recovery phrase: MetaMask hands over a 12-word phrase at this stage. It's the only way to bring the wallet back on a new device later. This phrase belongs on paper, stored somewhere offline. Not a screenshot, not a note app, not the cloud. Anyone who gets hold of it gets full access to the funds inside.
Confirm the phrase: The wallet asks for the words to be re-entered in order, just to make sure nothing was missed or mistyped during the save.
Start using it: Once that's confirmed, the wallet is live. Funds can be received, tokens can be swapped, and it can connect straight to decentralized apps and marketplaces.
Following each of these carefully results in a properly set up MetaMask wallet from scratch, ready for daily use.
How to Avoid Common Mistakes in Crypto
Most losses in crypto don't come from clever hacking. They come from small, avoidable slip-ups. A few things worth keeping in mind after setting up a MetaMask wallet from scratch:
The secret recovery phrase should never be shared with anyone. No support team, no exchange, and no MetaMask employee will ever ask for it. If someone does, that's a scam, full stop.
Digital storage of the phrase is risky. Screenshots get backed up to the cloud, emails get hacked, and note apps sync across devices. Paper, stored somewhere safe and offline, is still the safer bet.
Website URLs deserve a second look every time. Phishing sites copy MetaMask's design almost pixel-for-pixel. Bookmarking the real site removes this risk completely.
Transaction details are worth reading before hitting sign. MetaMask actually shows what a transaction is about to do. Skipping that and approving on autopilot is one of the biggest reasons people lose funds.
Connecting the wallet to random platforms isn't a great habit. Some sites ask for far more permission than they actually need. Checking and revoking old permissions now and then is a smart move.
And finally, rushing through setup causes more problems than it solves. Taking the extra few minutes to properly back up the recovery phrase saves a lot of trouble down the line.
A Quick Note on Fees and Security
MetaMask takes a service fee on token swaps, plus a small fee on crypto purchases made through the app separate from the usual network gas cost.
On security, it comes with phishing alerts, transaction previews that are actually readable, and support for hardware wallets like Ledger and Trezor.
All of that helps, but it doesn't make the wallet bulletproof. At the end of the day, safe usage still comes down to the person holding it.
Conclusion
Creating a MetaMask wallet from scratch is not too difficult, but it certainly requires patience when it comes to the recovery phrase and transaction approvals.
By downloading the wallet only from the official page, storing the recovery phrase offline, and being cautious about possible phishing attacks, you will get rid of most of the risks associated with using cryptocurrencies.
After that, you can access all the functionality provided by the wallet.
Disclaimer
This article is intended for informative purposes and should not be regarded as financial advice. Using any cryptocurrency wallets is accompanied by certain risks, including the loss of funds.